How to Plan a Dinner Party Menu From Scratch (Step by Step)
Planning a dinner party menu from scratch sounds like it should be straightforward. You like food, you know what your guests enjoy, you have a kitchen — how hard can it be? In practice, the blank page is where most hosts stall. The choice feels enormous, the stakes feel high, and the risk of choosing the wrong thing and discovering it mid-cooking is enough to send people back to the same safe dishes they have cooked for years.
This guide gives you a step-by-step process for planning a dinner party menu from scratch — one that removes the blank-page paralysis and produces a menu you can actually execute with confidence. It is a sequence of decisions, each one narrowing the field until the menu is obvious rather than overwhelming.
Step 1: Start With What You Know, Not What Impresses
The first and most important instruction in planning a dinner party menu from scratch: do not reach for the most ambitious dish you can think of. Reach for the dishes you know.
A dinner party is not a cooking audition. It is a social occasion that happens to involve food. The host who serves a dish they have cooked many times — relaxed, confident, present at the table — produces a better evening than the host who attempts something technically demanding for the first time and spends the meal in a state of controlled anxiety.
Write down ten dishes you cook well. Not ten dishes you would like to cook. Ten dishes you have cooked successfully before, that you could produce again without referring to the recipe more than once. This is the pool you are drawing from. The dinner party menu is almost certainly inside it.

Step 2: Apply the Four Filters
With your list of known dishes in front of you, run each one through four questions.
Can it be mostly prepared in advance? Specifically: can at least 80% of the prep happen before the day of the dinner, or earlier in the day? Dishes that need to be cooked to order or that require active attention during the service window work against you as a host. Eliminate anything where the answer is clearly no.
Does it scale to your guest count without becoming significantly more difficult? Some dishes scale naturally. A braise made for six is almost identical in effort to a braise made for eight. An individually pan-fried portion for six requires one more pan and one more careful coordination than for four — and at eight, it becomes a logistics problem. Be honest about which dishes survive the scale.
Does it hold quality when made ahead? Slow-cooked proteins, soups, stews, tarts, grain salads, most desserts — all hold or improve. Pan-fried proteins, most fried food, soufflés, and anything described in a recipe as best served immediately — all deteriorate. Dishes in the first category stay on the list. Dishes in the second category move to a weeknight.
Is it right for the occasion? A casual Saturday dinner with friends calls for different dishes than a formal birthday dinner. The menu should match the tone of the evening you are hosting — or be deliberately chosen to set a tone that suits you.
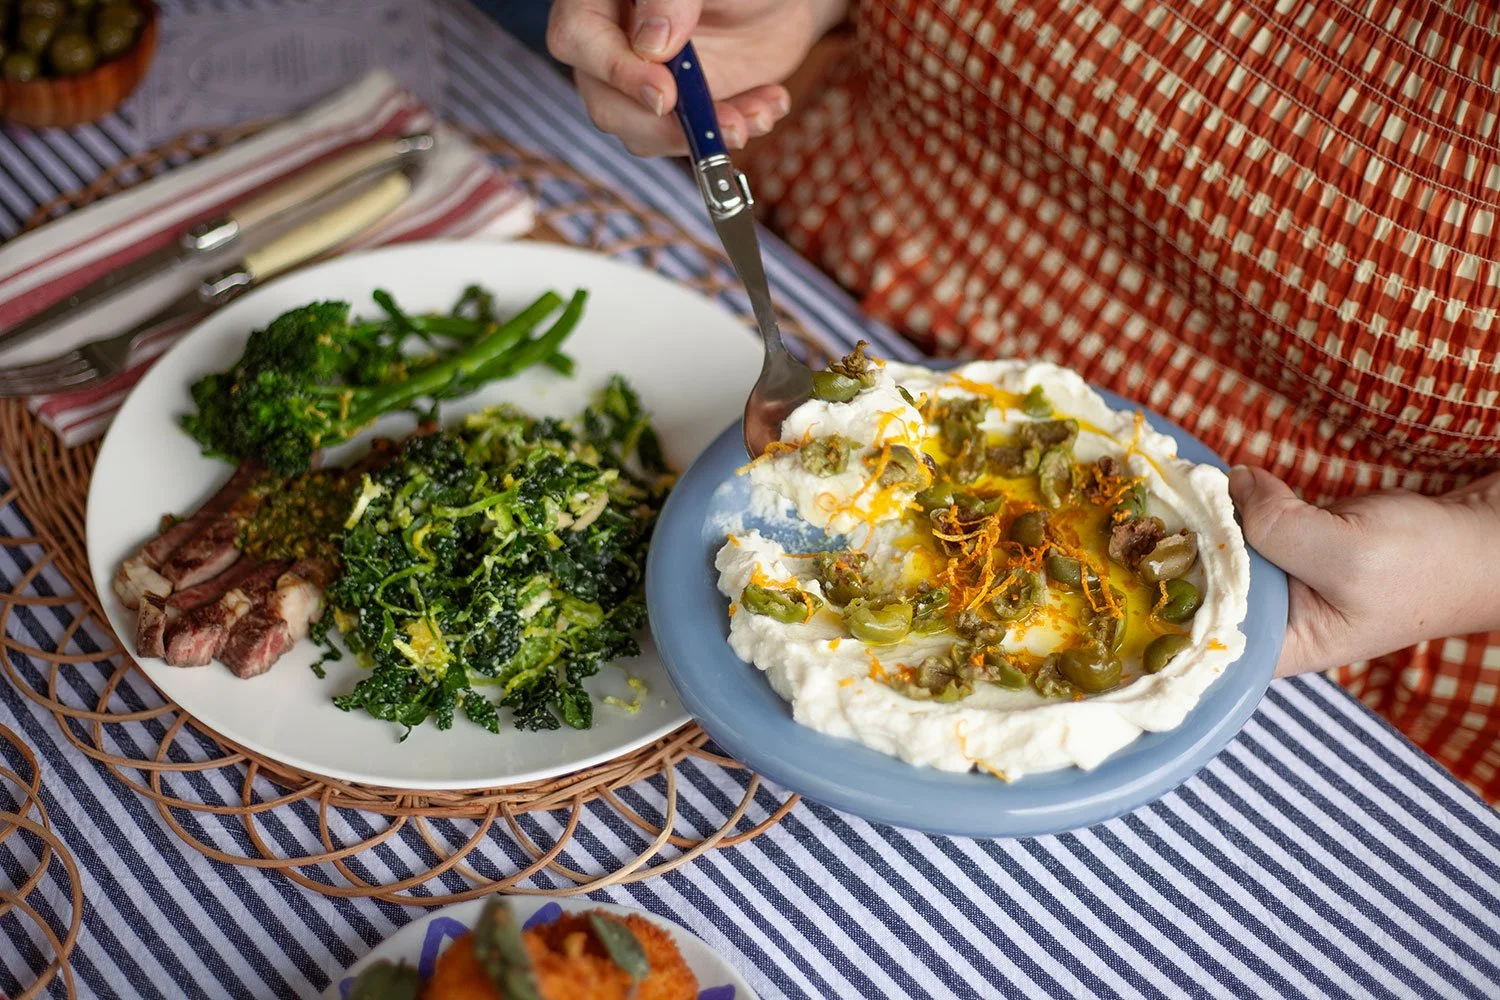
Step 3: Choose the Main Course First
The main course is the anchor. Everything else is chosen in relation to it, so it is the first concrete decision.
From your filtered list, identify the strongest main course candidate: the dish you are most confident cooking, that scales to your guest count, that can be substantially prepared in advance, and that suits the occasion.
If more than one dish clears all four filters, choose based on season. A slow-braised lamb shank is winter food — it belongs in the cooler months. A whole baked salmon with a herb crust belongs in summer. A good dinner party main fits the season it is being served in.
Once the main is chosen, commit to it. The paralysis that most hosts experience in menu planning comes from keeping options open too long. Choosing the main and moving on releases the rest of the planning.
Step 4: Choose a Starter That Sets Up the Main
With the main course chosen, the starter has a defined brief: it should be lighter in weight and flavour than the main, require almost no day-of cooking, and give guests something to settle into when they arrive.
Look at your filtered list with the main in mind. If the main is rich and slow-cooked, the starter should be fresh and light. If the main is a delicate fish, the starter can be more robust.
The starter also signals the tone of the evening before the main arrives. A sophisticated plated starter communicates that the dinner is considered. A shared board on the table communicates that the evening is relaxed. Choose the format that fits the occasion.
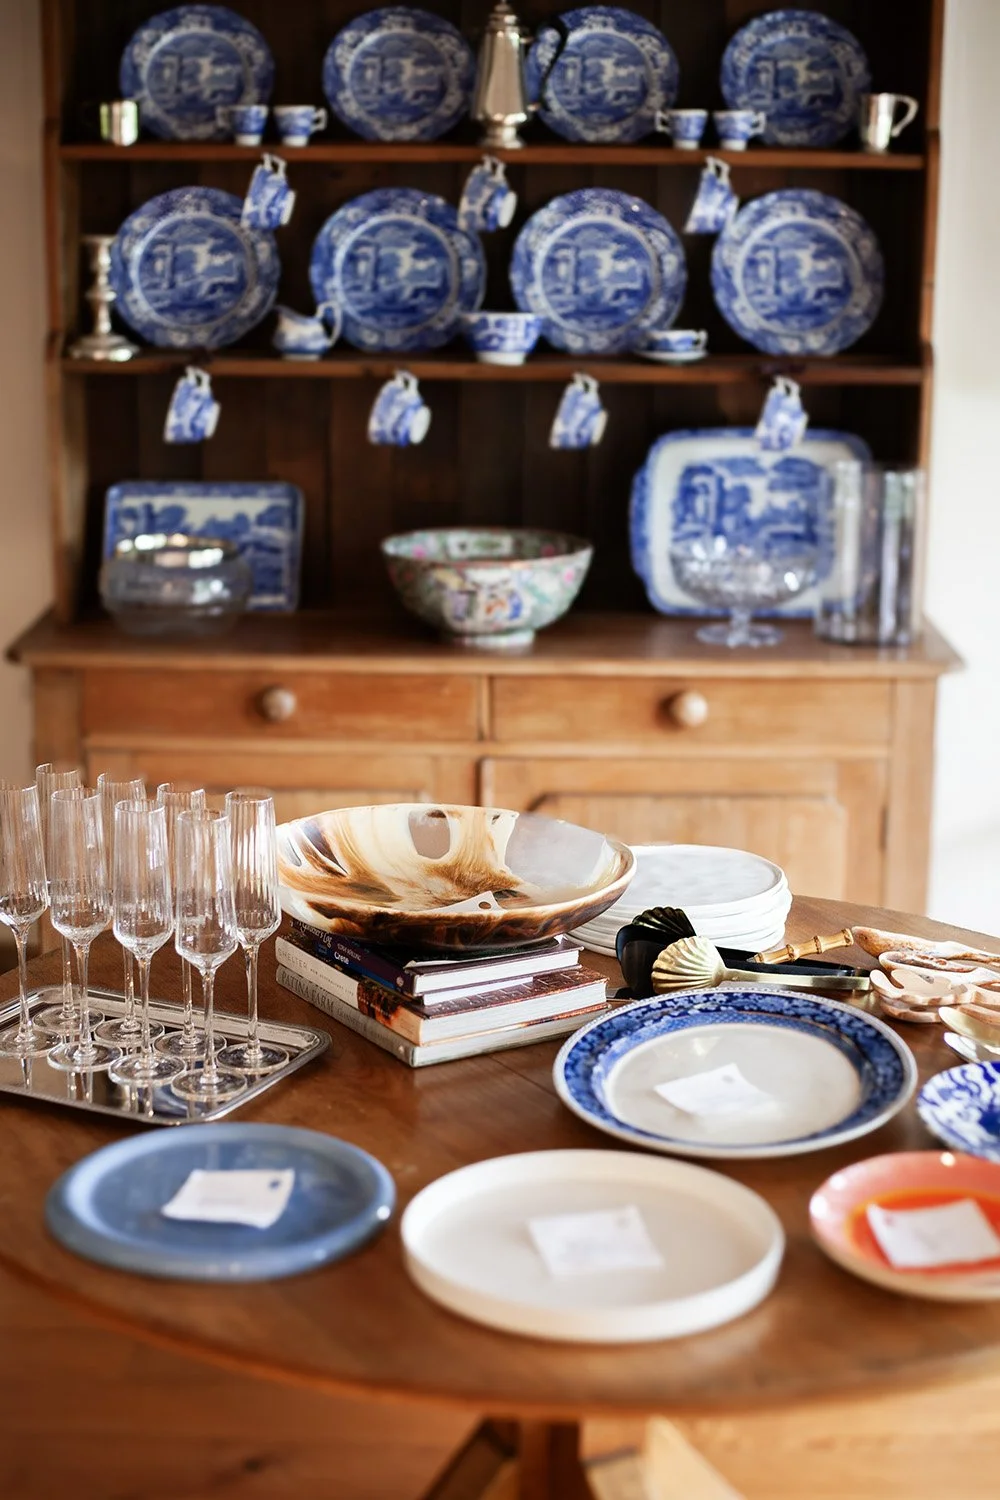
If nothing on your existing list works as a starter, the simplest options require almost no recipe at all: a good board assembled from quality ingredients, a chilled soup from the day before, a plated dip with bread. These are not compromises — they are the starters that the most experienced hosts return to most often because they work reliably and require nothing from the kitchen on the evening itself.
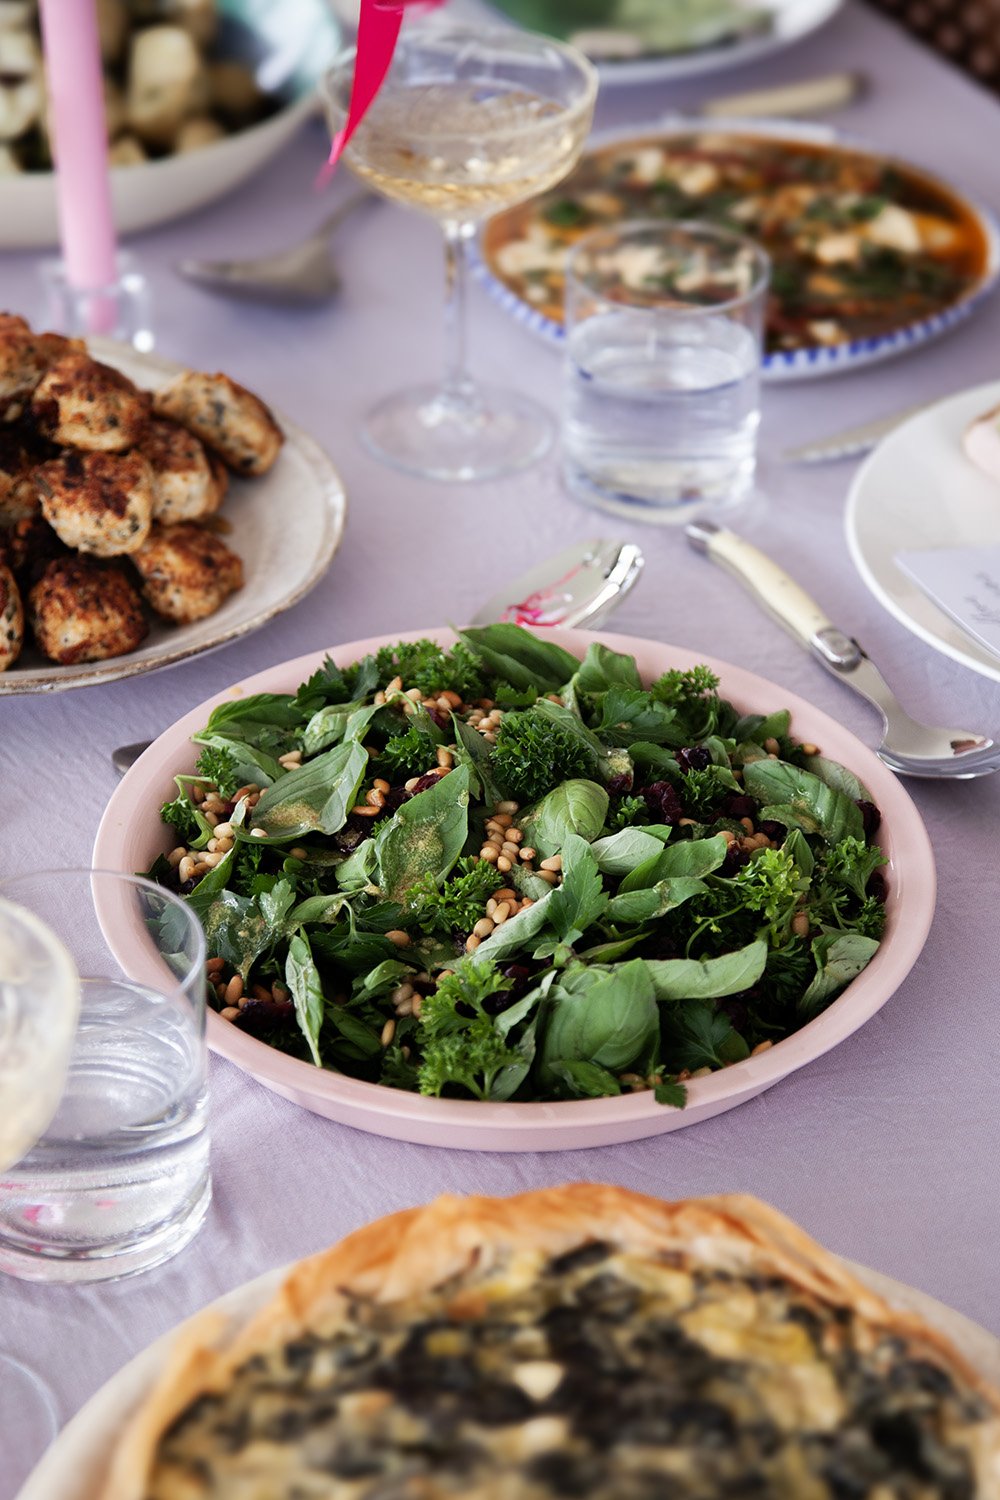
Step 5: Choose a Dessert That Closes the Meal
Dessert is the easiest decision once the main is set, because the brief is clear: contrast with the main in weight and temperature, and be completely done before guests arrive.
From your filtered list, identify anything that is made entirely in advance. If nothing qualifies — if every dessert on your list needs active cooking at serving time — this is when you look beyond your existing repertoire, because make-ahead is genuinely non-negotiable for dessert at a dinner party.
The most reliable options for hosts planning from scratch: a mousse made two days before, a tart assembled the day before, a panna cotta set in the fridge the previous evening, or a bought dessert paired with a simple homemade accompaniment (a warm sauce, a biscuit, a flavoured cream). There is no shame in bought dessert that is excellent. There is significant shame in a homemade dessert that kept you in the kitchen while your guests were reaching for their coats.
Step 6: Map the Prep Before You Commit
With all three courses chosen, map the prep across the available days before you finalise anything. This is the step that catches problems before they become emergencies.
Create a simple column for each day:
Two days before
Day before
Morning of
Afternoon of
Final hour before guests arrive
Go through every component of every dish and assign it to a column. Be realistic about how long each task actually takes, not how long it should take.
If the final-hour column is heavy, the menu needs adjusting. Specifically: identify what is in the final-hour column that could be moved earlier, and substitute any dish that genuinely cannot move with one that can.
A well-structured menu from scratch should have the majority of its prep in the day-before column, a reasonable amount in the morning-of and afternoon-of columns, and almost nothing in the final hour beyond reheating, finishing, and plating simple things.

Step 7: Write the Shopping List
The shopping list is the last step before the menu is finalised. Go through every dish, every component, every garnish, and write down every ingredient with its quantity. Include wine, water, candles, and any non-food items you need.
Then split the list into two shops:
Non-perishables shop (done three to five days before): pantry items, wine, any non-refrigerated ingredients
Fresh shop (done one to two days before): meat, fish, produce, dairy
A complete, split shopping list is one of the most underrated tools in a host's preparation. It turns the shopping from a stress point into a simple errand.
The Shortcut
If working through these seven steps still feels like too much, or if you want a starting point rather than a completely blank page, The Dinner Party Guide delivers a complete menu — with a full shopping list and timed prep plan for a range of occasions and guest counts. It handles the planning so you can focus on the hosting.
Pick a date. Send the invitation.