How to Host a Summer Outdoor Dinner Party (Without the Chaos)

Hosting outdoors in summer adds one layer of genuine pleasure — the setting does a lot of the work for you — and one layer of genuine complexity: you are at the mercy of the weather, the insects, and a kitchen that is suddenly 20 metres from the table. The hosts who pull it off well are not the ones with the most beautiful garden. They are the ones who planned it properly.
This guide covers the full arc of a summer outdoor dinner party: choosing your space, building a menu that works in the heat, setting a table that holds up in a breeze, and running a timeline that has you standing calmly with a drink when the first guest arrives. If you want the planning handled for you, The Dinner Party Guide offers downloadable hosting guides with a complete menu, shopping list, and timed prep plan for a range of occasions and guest counts. But if you want to understand how to build it yourself, start here.
Step 1: Assess the Space Before You Plan Anything Else
The single most useful thing you can do before choosing a menu or buying a tablecloth is spend ten minutes in your outdoor space at the time your dinner will actually run. What you are looking for:
Shade. If your dinner starts before 7pm in summer, direct sun makes guests uncomfortable and dries food out quickly. A sail shade, large umbrella, or a table positioned under a tree or pergola solves this. If shade is not available, push your start time later.
Wind direction. A consistent breeze is pleasant. A gusty, unpredictable wind sends napkins across the garden and blows out candles. Know which corner of your space is most sheltered and position your table there.
Insects. Flies and mosquitoes are worse in warm, shaded, humid areas — particularly near garden beds or compost. If your natural table position is a problem spot, small adjustments matter: fresh lavender or rosemary on the table, citronella candles, and a discreet fan directed across the table all help without being intrusive.
A wet weather plan. It does not need to be elaborate. A tarpaulin strung overhead, a covered verandah nearby, or a cleared indoor space you can pivot to is enough. Tell your guests about it before the evening — it signals competence and lets everyone relax.
Step 2: Build a Menu Around the Constraints, Not Around the Recipes
The most common outdoor dinner party mistake is choosing a menu first and then discovering, on the night, that half of it requires an oven you cannot access, a sauce that congeals in the heat, or last-minute plating that keeps you in the kitchen.
A summer outdoor menu should meet four criteria: it uses seasonal produce at its best, most of it can be prepared ahead, it holds well at room temperature or improves with resting, and the main course can be cooked outside.
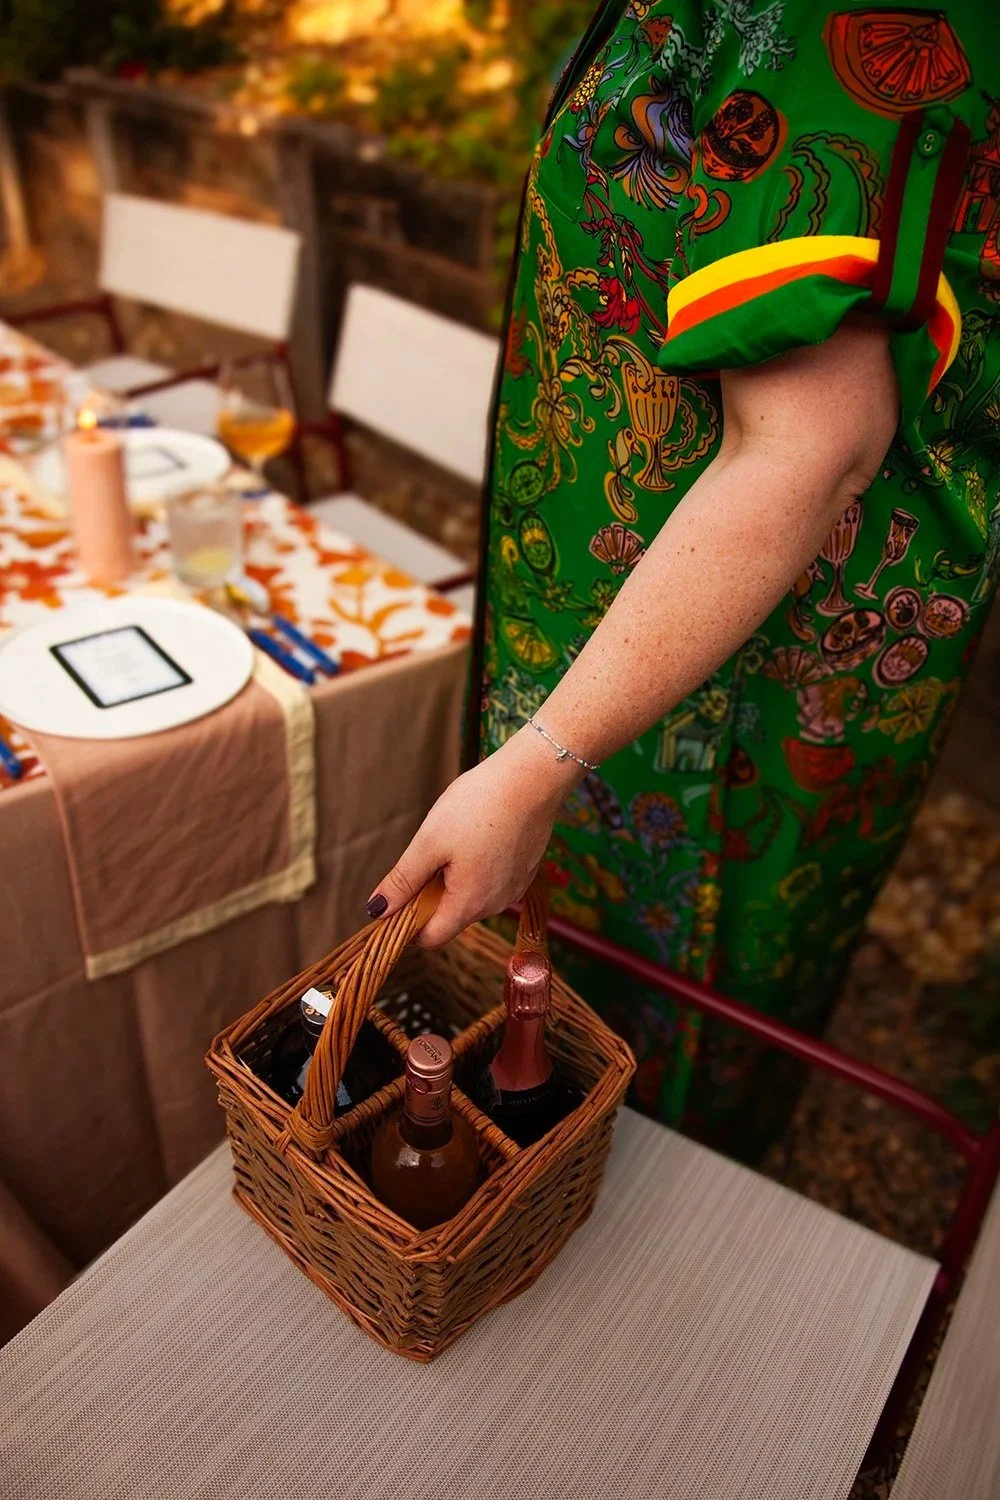
What to pour on arrival. Set up a self-serve drinks station before anyone arrives. A large glass dispenser of infused water — cucumber and mint, or strawberry and basil — looks good and keeps guests hydrated without you needing to manage it. Add a bucket of iced wine and a batch cocktail: a jug of Aperol spritz, sangria, or gin and elderflower punch. Guests who can help themselves arrive more relaxed and give you time to finish the last prep.
Starters. Think fresh, colourful, and room-temperature. Bruschetta with ripe tomatoes, a caprese with fresh mozzarella, or chilled gazpacho served in small glasses are all strong choices. A grazing board of cured meats, cheese, fruit, and olives gives guests something to return to while everyone settles in, and it requires almost no day-of work.
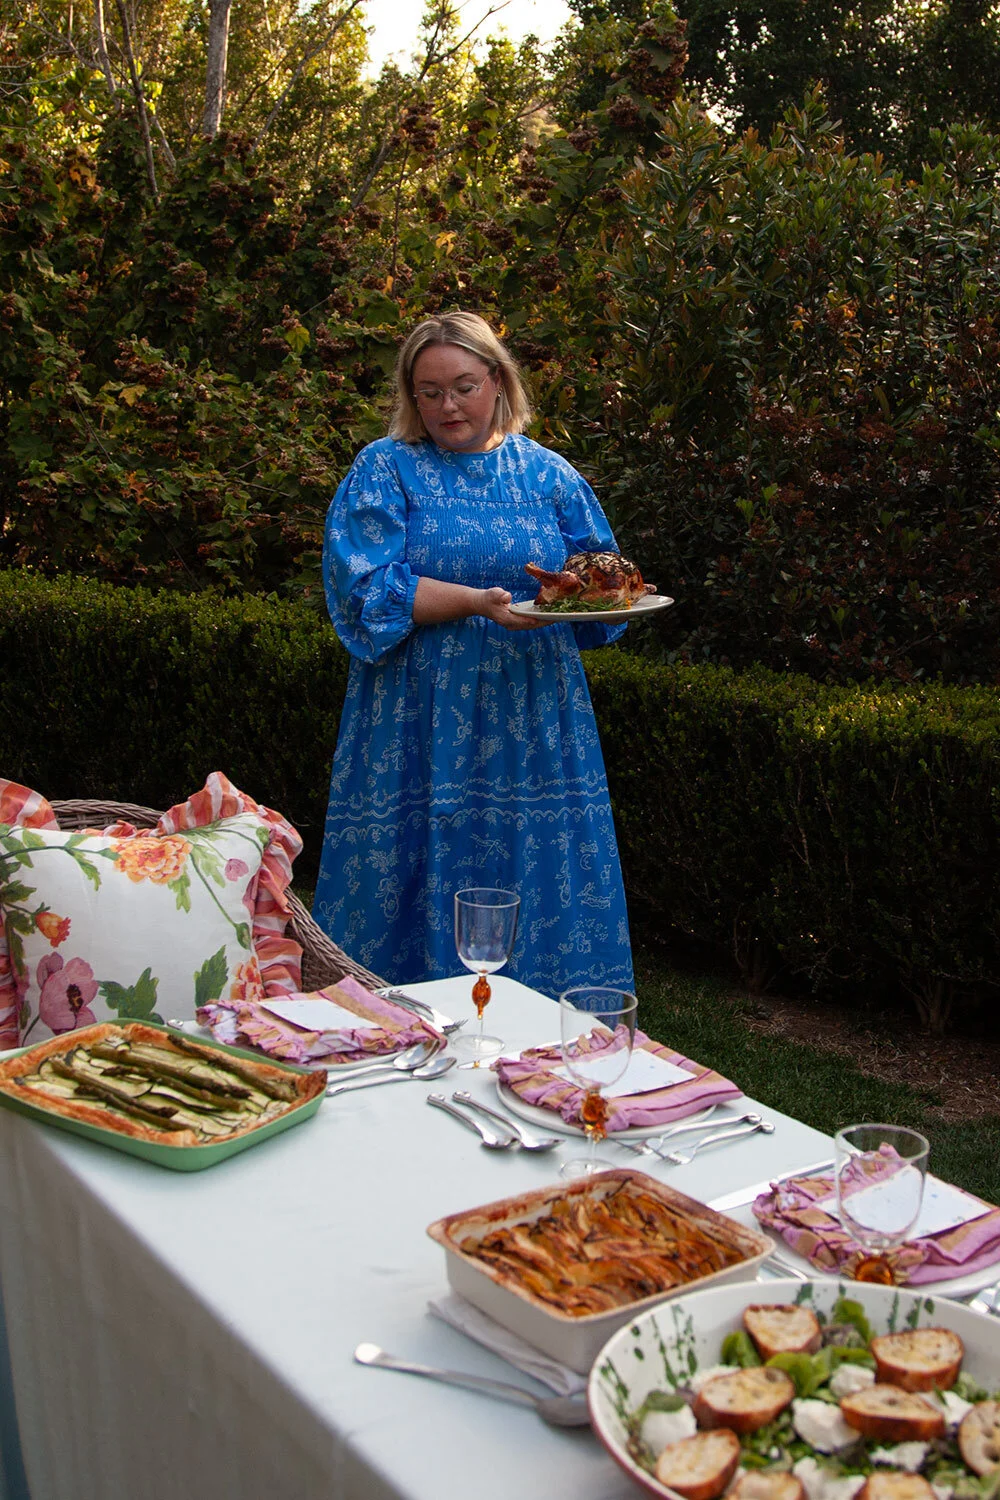
Mains. The barbecue is your biggest asset as an outdoor summer host. It keeps heat and mess out of the kitchen, it cooks quickly, and the results speak for themselves. Grilled lemon and herb chicken thighs work for a crowd and cook well in batches. Grilled prawns, salmon fillets, or fish skewers are faster still. A whole side of salmon finished in the oven and served at room temperature is the most elegant option if you are cooking for eight or more — it carves beautifully at the table and needs no reheating.
Serve mains on shared platters rather than individually plated. It suits the setting, encourages people to linger, and means you are not trying to carry eight hot plates across a garden.
Sides should do most of their work in advance: a green salad dressed at the table, a grain salad with roasted vegetables that holds at room temperature, good bread, and a herb oil or dressing passed around.
Dessert. Make it in advance and keep it light. Berries with whipped cream and a crumbled shortbread, individual frozen sorbets, or a pavlova assembled the day before are all well-suited to the heat and the setting. If you have a fire pit, s'mores at the end of the evening are a reliably good idea — they extend the night naturally and give guests something to do with their hands while conversation winds down.
If building a menu from scratch still feels like too much, The Dinner Party Guide takes care of this entire step. Each downloadable guide delivers a fully curated menu with recipes, a shopping list, and a timed prep plan for the occasion. Browse the full collection and find the one that fits your gathering.
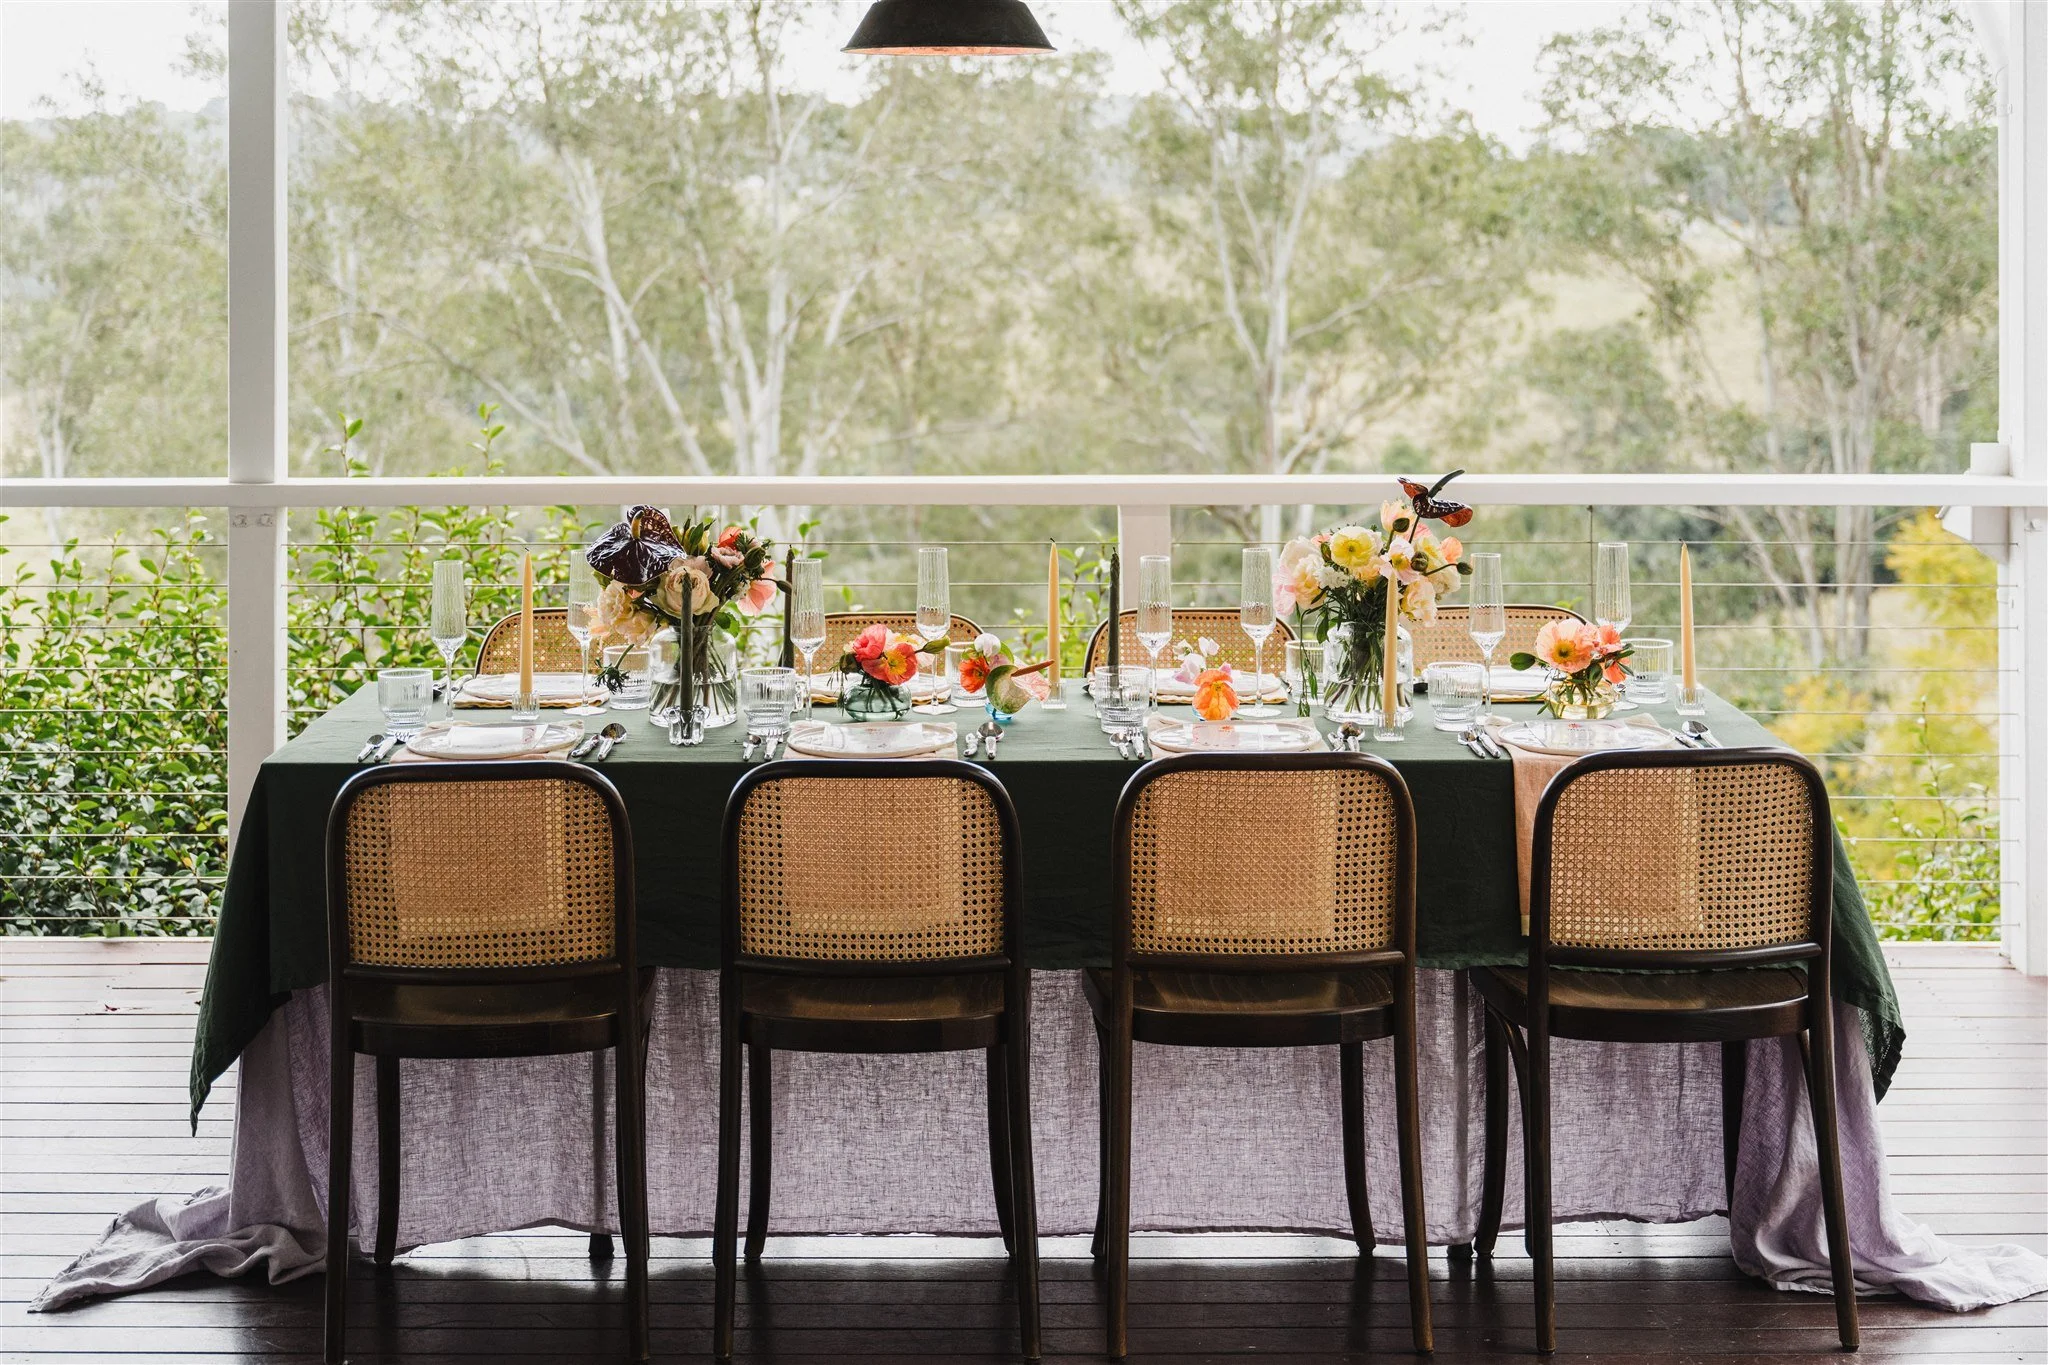
Step 3: The Table — Practical First, Beautiful Second
Outdoor tablescaping has one rule that indoor entertaining does not: everything needs to stay where you put it. Build around that constraint and the rest follows naturally.
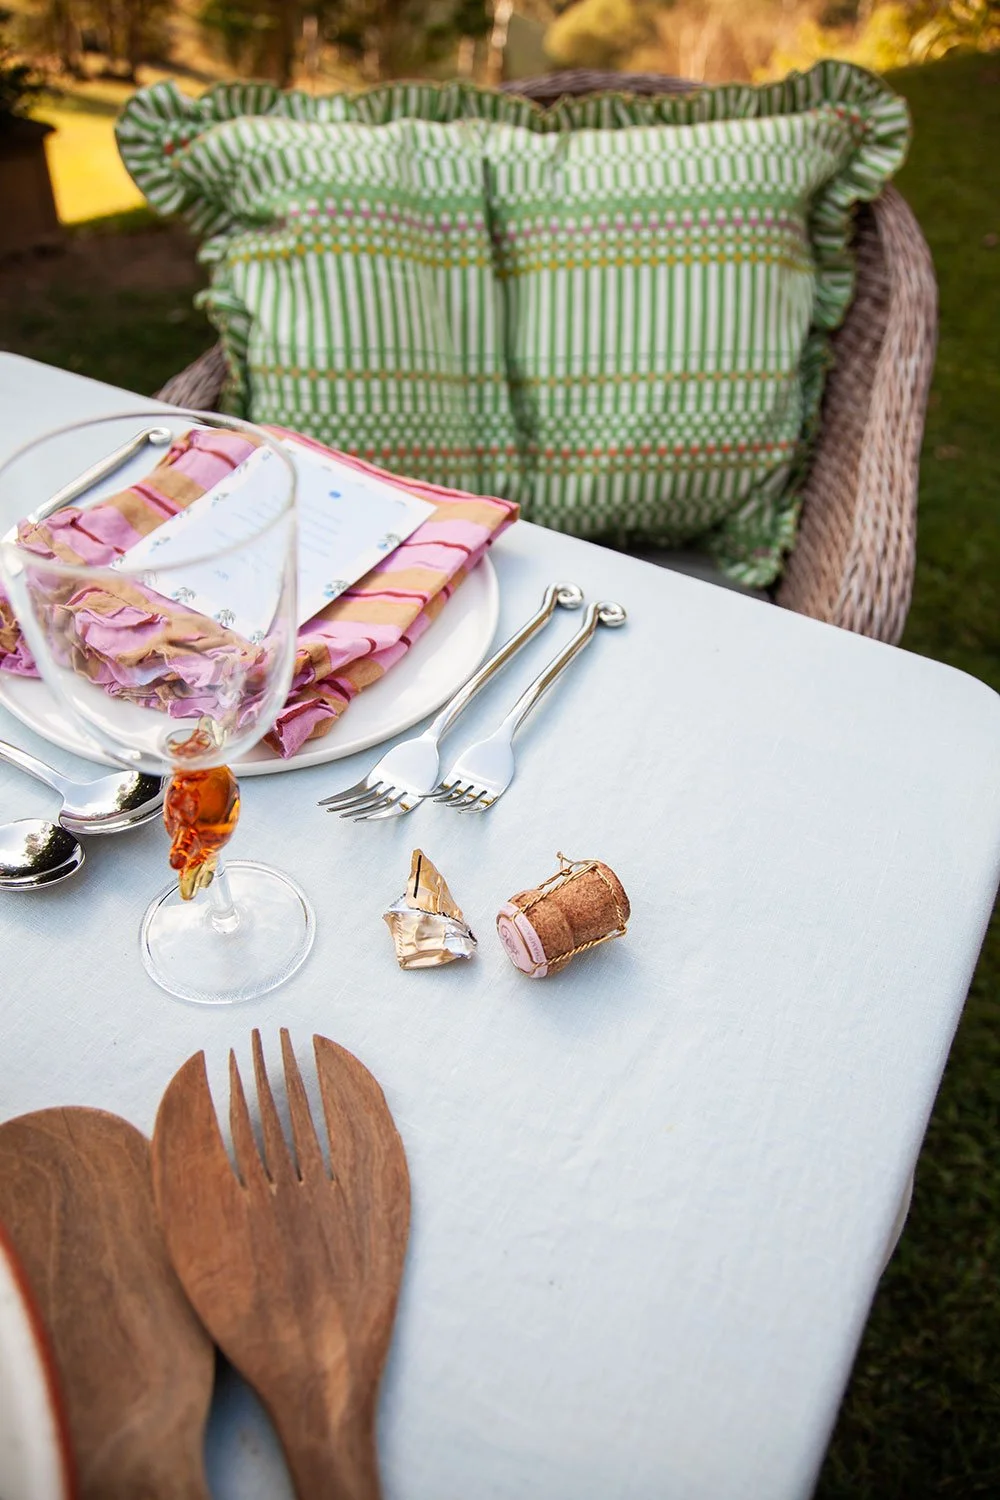
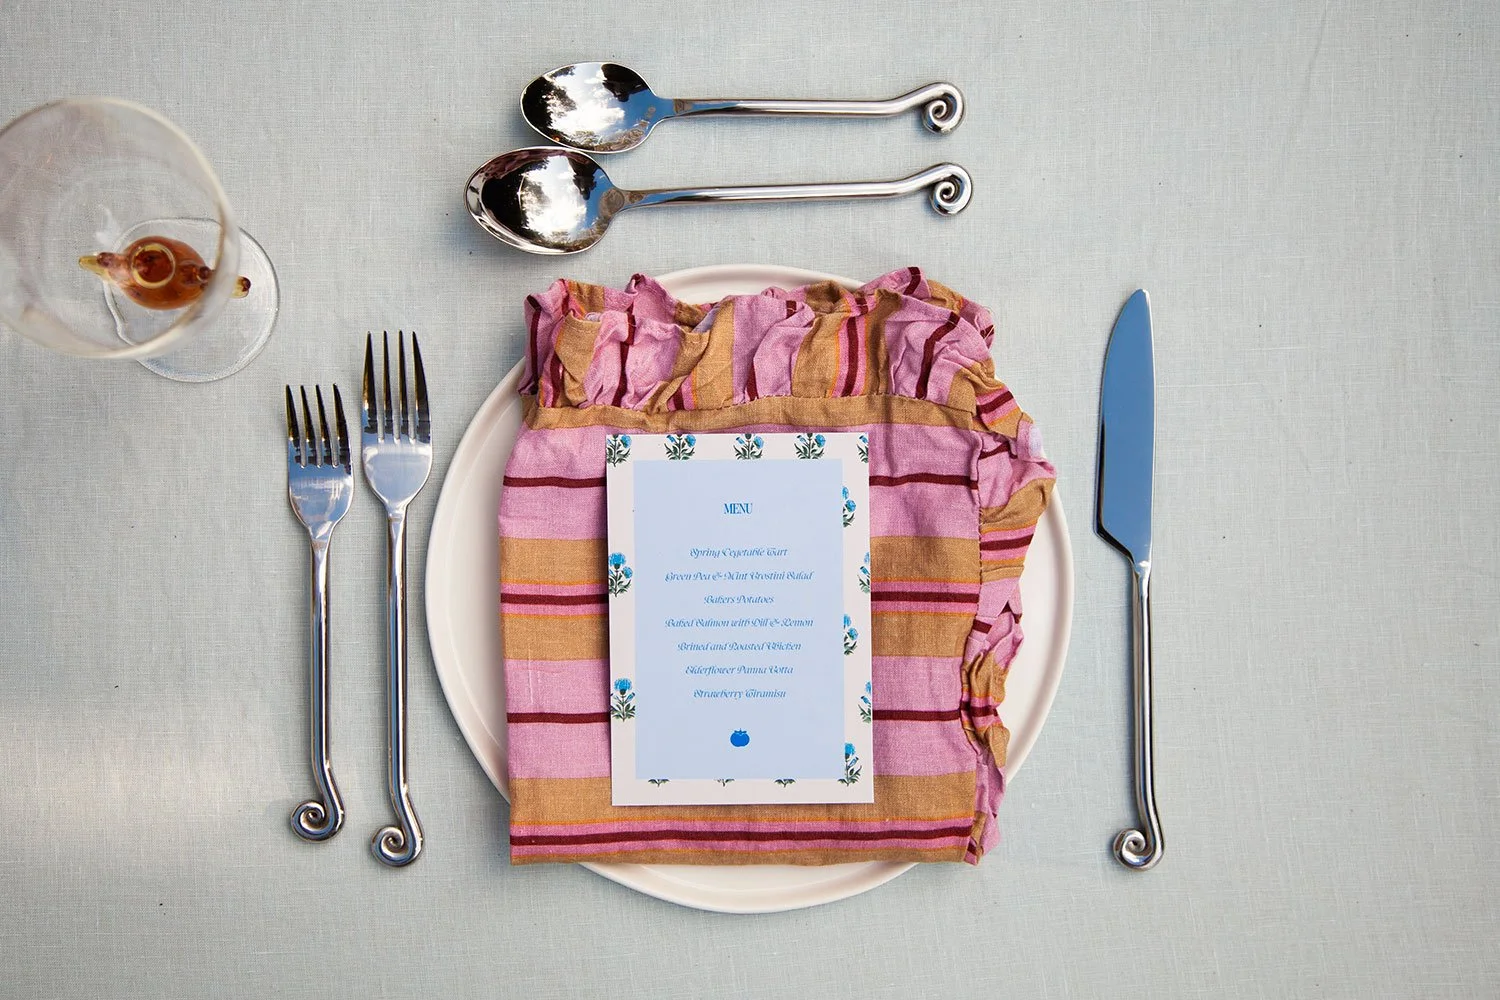
Start with a weighted base. A linen tablecloth in a neutral tone — white, natural, or oatmeal — is the most versatile option and looks right in almost any outdoor setting. Avoid anything lightweight that catches a breeze. If you are using placemats instead, choose woven jute or cotton that sits flat and does not lift.
Centrepieces should be low and sturdy. A row of small herb pots down the centre of the table (rosemary, lavender, basil) acts as both décor and insect deterrent. A loose arrangement of seasonal flowers in a heavy vase, or a cluster of glass lanterns with pillar candles inside, keeps the table grounded and looking considered without requiring effort you do not have.
Use real plates always. The weight holds them in place, the food looks better, and the experience of the meal is markedly different. This is not about formality — it is about the small details that make guests feel the evening was prepared for them.
Step 4: Lighting
Get this right and the second half of the evening takes care of itself. Get it wrong and the transition from daylight to dark feels abrupt and flat.
String lights hung overhead — in a canopy above the table or draped along a fence line — create warmth and intimacy that no other light source matches outdoors. Hang them before guests arrive so the shift from golden hour to evening feels seamless rather than something you are scrambling to set up while guests watch.
At table level, pillar candles inside hurricane lanterns cast the most flattering light and are stable in a breeze. Avoid tapered candles outdoors — they topple in any wind and are a fire risk near linen.
For pathways or steps, small solar lanterns do the job well and require no setup on the night itself.

Step 5: The Hosting Timeline
The hosts who look relaxed when their guests arrive are not more naturally calm than anyone else. They simply finished the work earlier. A timed prep plan is the single most effective tool in outdoor entertaining, because the logistics of cooking outside with a kitchen indoors require more transitions than a standard dinner party.
The night before:
Set the table completely and cover it with a sheet to protect it from overnight dew
Prepare all make-ahead components: marinades, salad dressings, desserts, the batch cocktail base, any dips or starters
Charge the Bluetooth speaker and finalise the playlist
Set out all serveware so you know where everything is
Morning of:
Prep any remaining fresh components — slice citrus, wash herbs, assemble the grazing board base
Chill wine and drinks
Set up the self-serve drinks station so it only needs ice added before guests arrive
Two hours before guests arrive:
Light the barbecue early — it takes longer than you expect to reach the right temperature
Add final table touches: flowers, candles, filled water glasses
Add ice to the drinks station
Test the string lights while it is still light enough to fix them if something is wrong
30 minutes before:
Get yourself changed and out of cook mode
Light the candles and turn the music on at low volume
Set out the starters or grazing board
Step back from the kitchen
When the doorbell rings, you should already have a drink in your hand.
What to Do When Things Go Wrong
Wind picks up
Clip napkins under cutlery, move candles inside their lanterns, and let the table be slightly imperfect. Guests do not notice napkins as much as hosts do.
It is hotter than expected
Pre-chill plates in the fridge, serve drinks colder, and move the table further into shade if you can. Starting 30 minutes later than planned is always an option.
It rains
If you have overhead cover, use it — a bit of atmosphere is worth some mild discomfort. If not, move inside with the same food, light the candles, and call it intimate. Most guests find an unexpected pivot more memorable than a flawless plan.
Flies at the table
A small fan directed across the table is the most effective solution and the most underused one. Combine it with fresh herbs and citronella and the problem largely disappears.
The Real Goal
A summer outdoor dinner party works when the planning has been done early enough that the host is present — not managing — by the time guests arrive. Every section of this guide points toward that outcome: assess the space before committing to anything, build a menu around what the heat and distance from the kitchen will actually allow, set the table to hold up in the conditions, and run a timeline that front-loads the work. If you want that planning handled for you, The Dinner Party Guide packages the menu, shopping list, timed prep plan, and drink recommendations into one downloadable resource, with options across a range of occasions and guest counts. Browse the full collection and find the one that fits your next gathering.
Pick a date. Send the invitation. The rest is logistics.
For more on structuring your menu, see our dinner party menu planning guide. If this is your first time entertaining at home, start with our stress-free hosting tips for beginners.