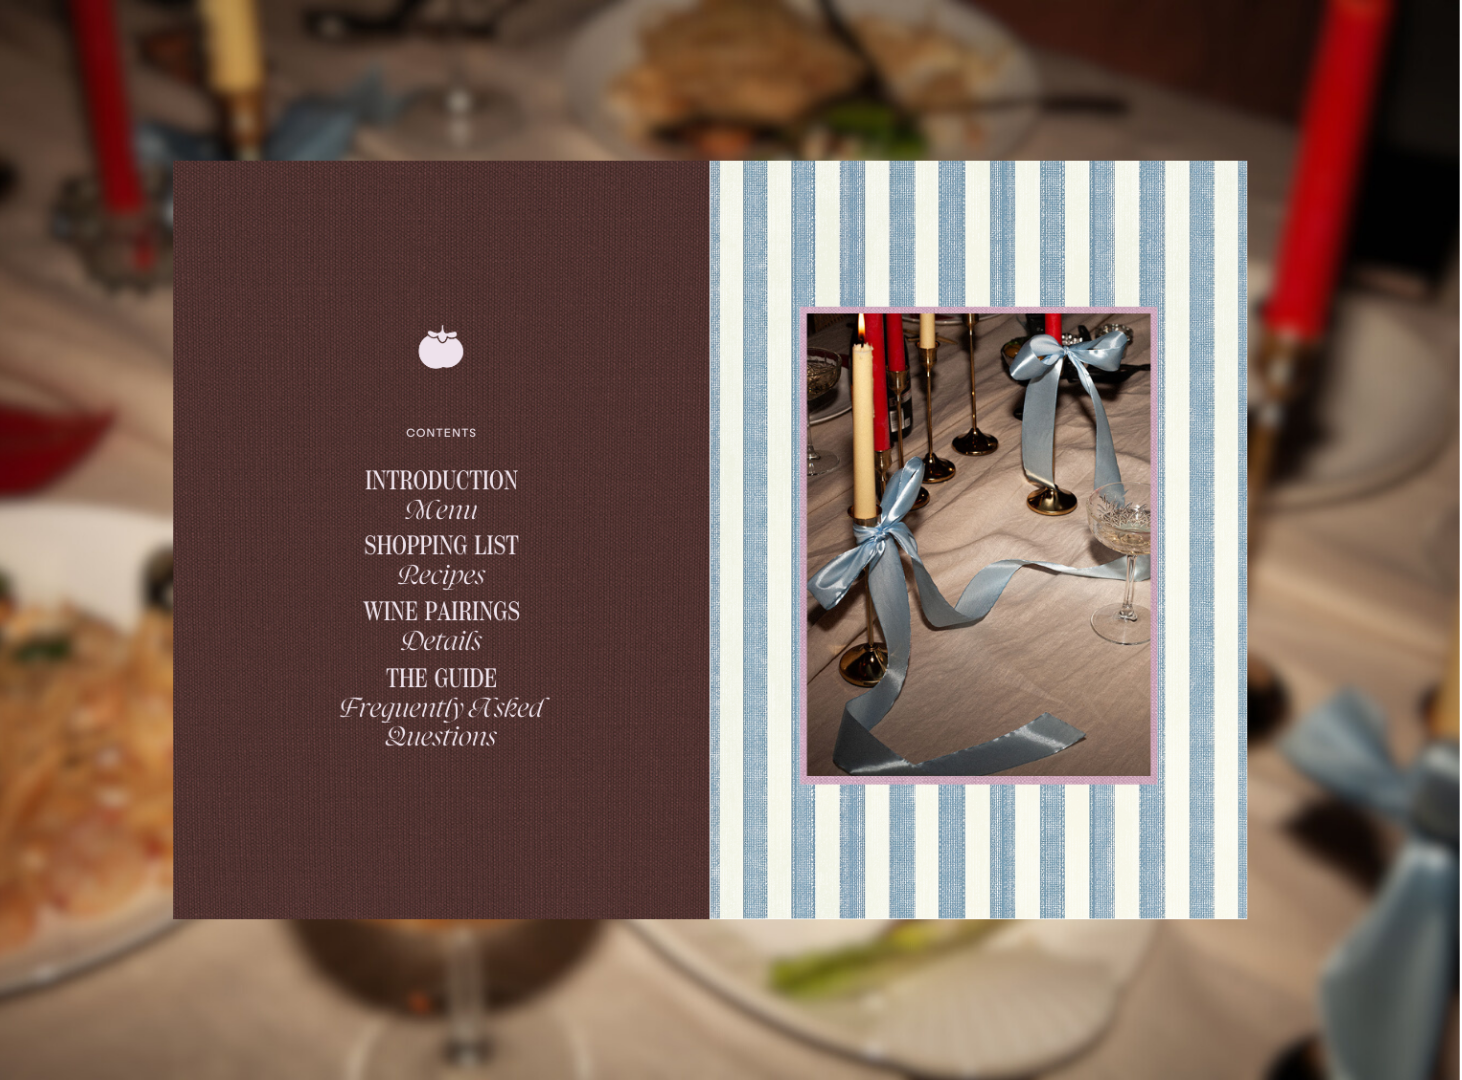
The Dinner Party Menu Planning Guide
Menu planning is where dinner party hosting either becomes manageable or falls apart. Get it right and every subsequent decision — shopping, prep, the day-of timeline — is a logistics exercise. Get it wrong and you spend the evening firefighting in the kitchen while your guests wonder where you are.
The mistake most hosts make is treating menu planning as a creative exercise: browsing recipes, collecting favourites, and hoping they add up to something coherent. They rarely do. Menu planning is an engineering problem — a set of dishes that fit together, distribute across the available prep time, and stay within the limits of your kitchen and your skill level. This guide gives you the system for building that menu, from the first question you should ask to the final check before you commit.
Step One: Establish the Parameters
Before a single dish is considered, answer these five questions. They are the walls of the room you are building the menu inside.
Guest count. Headcount affects portion sizes, the viability of certain cooking methods, and whether individual plating is realistic. Anything above eight pushes you toward family-style service and simpler courses — for the full breakdown, see [dinner party for 8](#).
Dietary restrictions and preferences. Collect this before planning anything. One significant restriction — a severe nut allergy, a vegan guest, a coeliac — can eliminate entire categories of dishes. It is much easier to work around a restriction from the start than to retrofit a menu that is already planned.
Available prep time. How many days do you have? How many hours on each of those days? A menu that requires three hours of active cooking on the day is a very different proposition for someone who finishes work at 5pm on Friday than for someone who has the whole day free. Be honest about the time available and build the menu inside it.
Kitchen equipment. One oven, two burners, no stand mixer, a single large roasting pan — whatever the constraints of your actual kitchen, know them before you plan a menu that requires more. A dish that needs the oven at 200 degrees while another needs it at 150 degrees at the same time is a problem that should be identified now.
The occasion and tone. A formal celebration warrants more deliberate choices than a casual Saturday dinner. The menu should signal the tone of the evening before guests taste a single thing.Ask about dietary restrictions before you plan a single dish
This is the step most first-time hosts skip. Ask every guest about allergies, intolerances, and preferences before you finalise the menu. One short message protects you from assembling a dinner that someone at the table cannot eat. If anyone has a severe allergy, be mindful of cross-contamination during prep, not just in the final dish.
Step Two: Choose the Main Course First
Every dinner party menu should be built around the main course, not around what seemed interesting when you were scrolling. The main is the anchor. Everything else — the starter, the sides, the dessert, the wine — is chosen in relation to it.
When choosing the main, apply three filters:
Can it be mostly prepared in advance? The main course creates the most kitchen pressure on the evening itself. If the main can be cooked the day before and reheated gently — a braise, a slow-cooked roast, a pasta bake — the entire evening becomes more manageable. If it needs to be cooked to order and served immediately, you are in the kitchen during the time you should be at the table.
Does it scale to your guest count? Some dishes scale naturally — a braise, a baked pasta, a whole roast. Others do not — a pan-fried fillet that needs individual attention for each portion. Match the main to the headcount before you are committed to it.
Is it a dish you are confident cooking? The dinner party is not the occasion for a first attempt at a technically demanding recipe. Choose a main you have cooked before, or one that is genuinely forgiving. Confidence in the kitchen communicates itself at the table — and so does its absence.

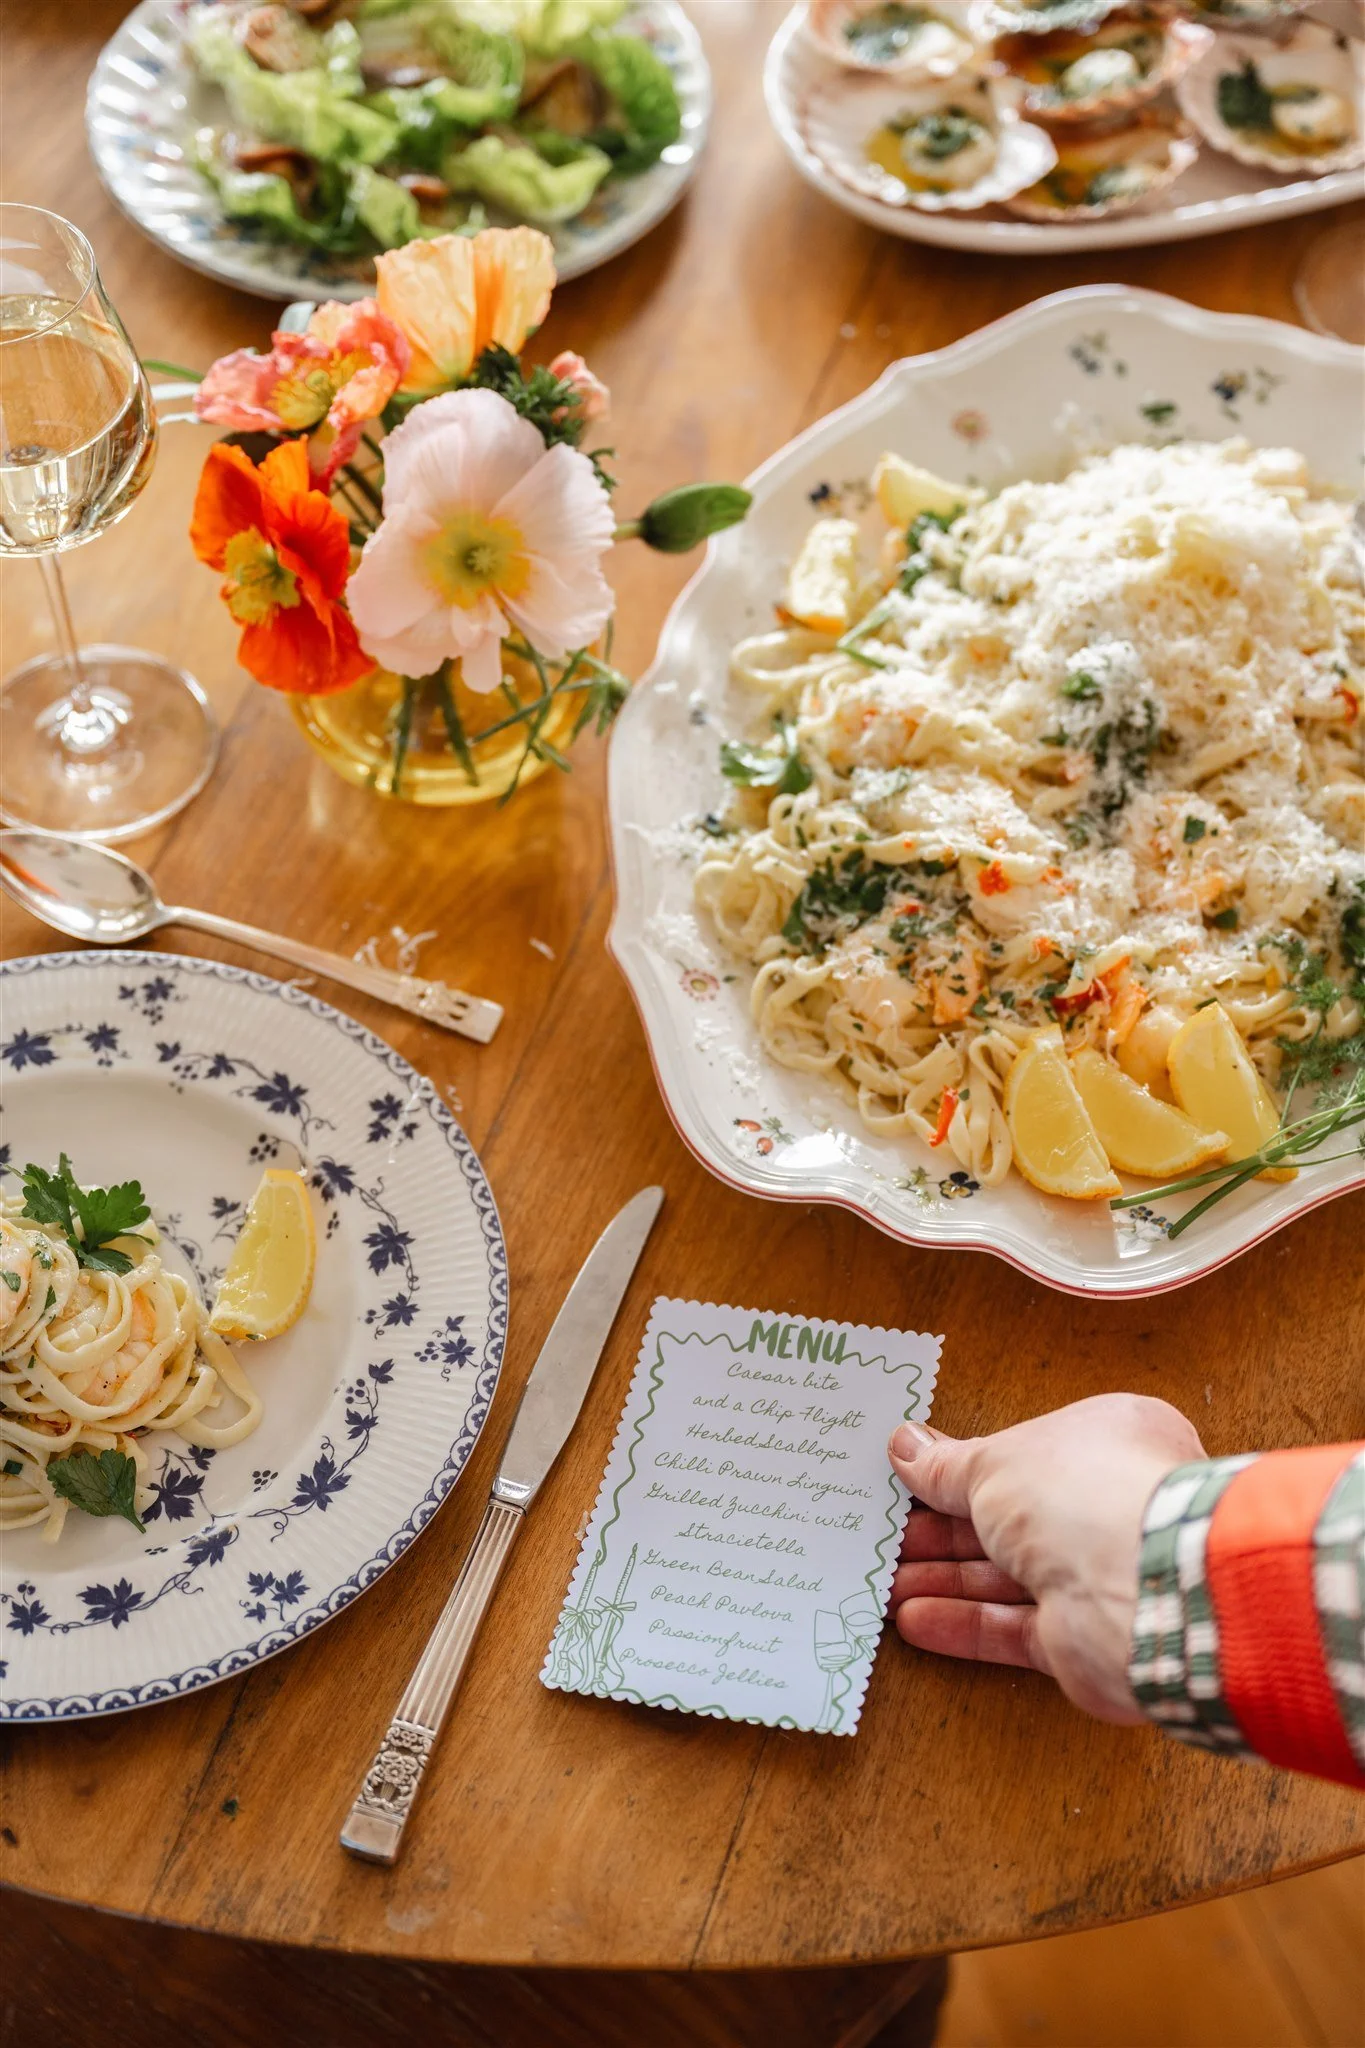
Step Three: Build the Starter Around the Main
Once the main is chosen, the starter has two jobs: to give guests something to focus on while they settle in, and to set up the main without duplicating it.
Weight contrast. If the main is rich and substantial, the starter should be light and fresh. If the main is delicate, the starter can do a little more work. A heavy starter before a heavy main leaves guests struggling before the centrepiece of the evening arrives.
Flavour contrast. The starter and main do not need to be from the same cuisine, but they should feel like they belong to the same evening. A Japanese-inspired starter before a Provençal main creates unnecessary dissonance. A fresh, herb-forward starter before a slow-cooked Italian main makes sense.
Prep simplicity. The starter should require almost no day-of cooking. Pre-plated dishes from the fridge, assembled boards, soups made the day before and poured to order — these are the starters that serve the host as well as the guests. A starter that needs last-minute attention takes you away from the room at the moment the evening is just beginning.
Step Four: Choose Sides That Do Not Compete With the Main
Sides are the element most frequently over-complicated. A main course that is already complex in flavour and technique does not need elaborate sides alongside it. It needs support — something that complements rather than competes.
Apply the one-thing rule. Choose one interesting side and fill the rest of the plate with simple things done well: a dressed green salad, good bread, a grain or starch that holds at room temperature. The interesting side might be a roasted vegetable with an unexpected dressing, a grain salad with a herb oil, or a flavoured mash. The simple things are exactly that.
Sides should be completable in advance. Grain salads, roasted vegetables, most mashes and purees, and simple green salads with dressing served separately all hold well. Sides that need last-minute cooking multiply the complexity of the main course window and are almost never worth it at a dinner party.
Step Five: Choose a Dessert That Closes the Meal
Dessert has one design requirement above all others: it should be done before guests arrive. Not mostly done — done. Plated, set, assembled, or requiring only the simplest finishing touch at serving time.
A dessert that needs active cooking after the main course keeps the host out of the room during the part of the evening when energy is highest and conversation is deepest. It is the wrong trade.
Beyond the make-ahead requirement, dessert should contrast with the main in weight and temperature. Rich after light, cold after warm, fresh after savoury. And it should be clearly sufficient in quantity — the one moment in the dinner where generous portioning is the right instinct.
Step Six: Map the Prep Across the Available Days
A menu that looks manageable in theory can become unworkable in practice if all the prep lands on the same day. Map it before you commit.
For each dish, identify:
- What can be done two days before?
- What is best done the day before?
- What needs to be done the morning of?
- What must be done in the final hour?
The goal is to move as much as possible into the two-days-before and day-before columns, and to minimise the final-hour column to reheating, assembling, and finishing. If the final-hour column is heavy, the menu needs restructuring.
A useful reference for how specific dishes distribute across a prep timeline is the [make-ahead dinner party menu guide](#), which breaks down three complete menus with their full prep sequences.
Step Seven: The Coherence Check
Before finalising, read through the complete menu — starter, sides, main, dessert — as if you were a guest seeing it for the first time.
Does it tell a coherent story? Not a rigid one — it does not need to be a single cuisine or a themed tasting menu. But there should be a logic to the progression that a guest can feel, even if they cannot name it.
Is one dish clearly the star? Every successful dinner party menu has one dish that carries the evening. If every course is competing for attention, the meal exhausts rather than delights. Let the main be the main. Let the supporting courses be exactly that.
Would you be happy eating this meal? The most reliable filter. If there is any component of the menu you are not genuinely looking forward to, it does not belong there.
The Shortcut
If working through these seven steps still feels like too much — or if you simply want a starting point rather than a blank page — The Dinner Party Guide delivers a complete, occasion-specific menu with recipes, shopping list, and timed prep plan in a single download. Each guide is built around the same framework described here, with the decisions already made. Browse the full collection to find the one that fits your next gathering.
For everything that happens after the menu is chosen — shopping, setup, the day-of sequence — see the dinner party checklist and dinner party hosting timeline.
Pick a date. Send the invitation.